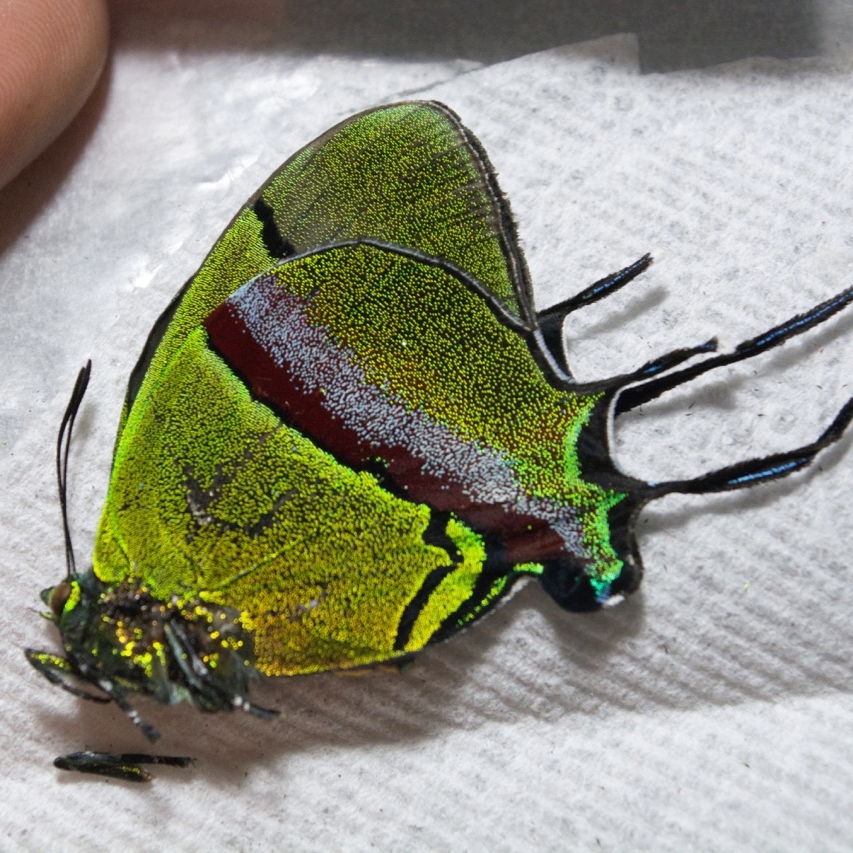
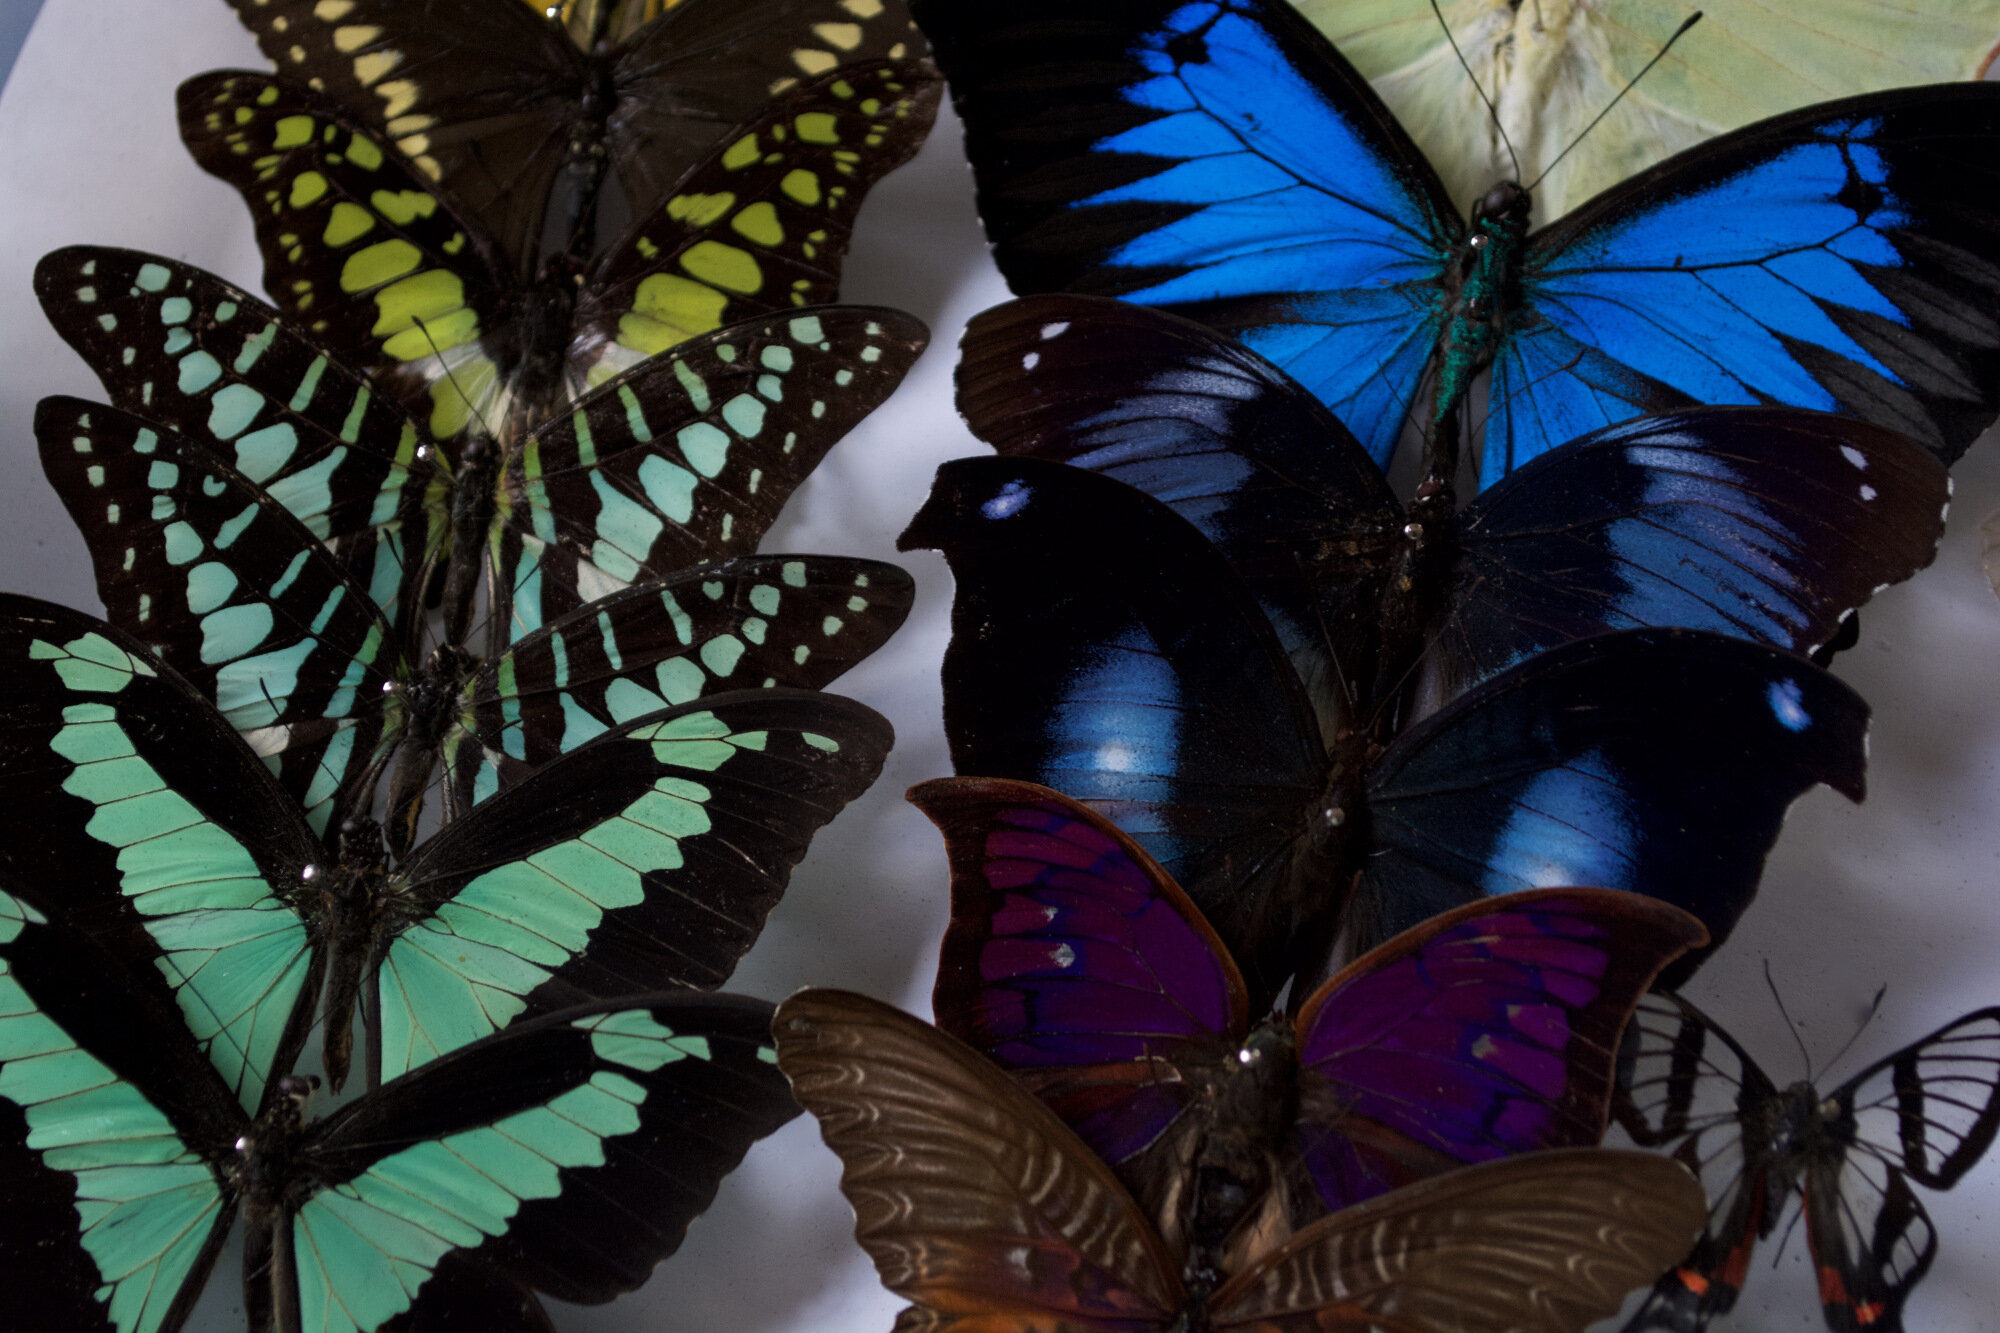
“Butterflies are among the most beautiful and delicate creatures on earth. They serve an essential purpose that supports all life on earth: pollinating plants in the environments”
Mounting & preserving
Most insects are dry preserved, normally on pins. Once dry the specimens will keep indefinitely as long as they’re properly cared for and stored. Keep in mind that there are many different ways to preform each of the methods that I will be describing, be sure to do your research and find the best method that works for you.
If you have a dried, unmounted specimen you’ll need to ‘relax’ it before you can pin it into the desired position.
RELAXING: The most common way that dried specimens can be relaxed is by placing them in an airtight humid chamber, such as a Tupperware container, for 24 hours to a few days. Cover the bottom of your container with a lightly, damp paper towel and add a few drops of Phenol or Ethyl Acetate to prevent mold. Most people do not have access to these chemicals so I often suggest adding a drop or two of Lysol or some alcohol into your chamber. Put your insect into your container and add another lightly, damp paper towel to cover them. You can keep this container in a room-temperature room for as long as needed to soften your specimens. I suggest 24 hours for regular-sized butterflies and adding 12-24 hours for larger specimens. Large Beetles may need to stay in the chamber for up to 3 days, maybe longer.
RELAXING TUTORIAL VIDEOS:
Rehydration Chamber – https://youtu.be/kpU-oeKgPGo
RELAXING METHOD #2: Since working with insects for such a long time I’ve found that my favorite way to relax butterflies is by injection, with hypodermic syringe, instead of using a relaxation chamber. This method is much faster and when working with “fluffier” specimens it does not matte down their scales like being in a humid chamber sometimes does. First I prepare my specimens, I unwrap them all and place them onto a board. I then boil a pot of water and pour it into a mug. Carefully, fill your hypodermic syringe with the boiling water. Hold the specimen by the thorax between thumb and forefinger and insert the needle at the rear of the thorax. You may have to wiggle the needle a little bit to work it inside as the specimen is very dry, gently injecting water inside. Be sure to let go of the specimen when you do this as you may burn your fingers with the hot water, I usually change my grip to hold the sturdiest part of the wings while I inject. Continue injecting your specimen with boiling water until you feel it start to soften. By pinching the body, you’ll know if it’s soft enough if the wings easily open, if its hard to pinch or the wings don’t open you’ll need to inject more. I like to set mine to the side once i’ve injected several times to cool and then pinch its body to see if its become playable enough for the wings to open — If its still too dry keep repeating this process until its relaxed enough to pin.
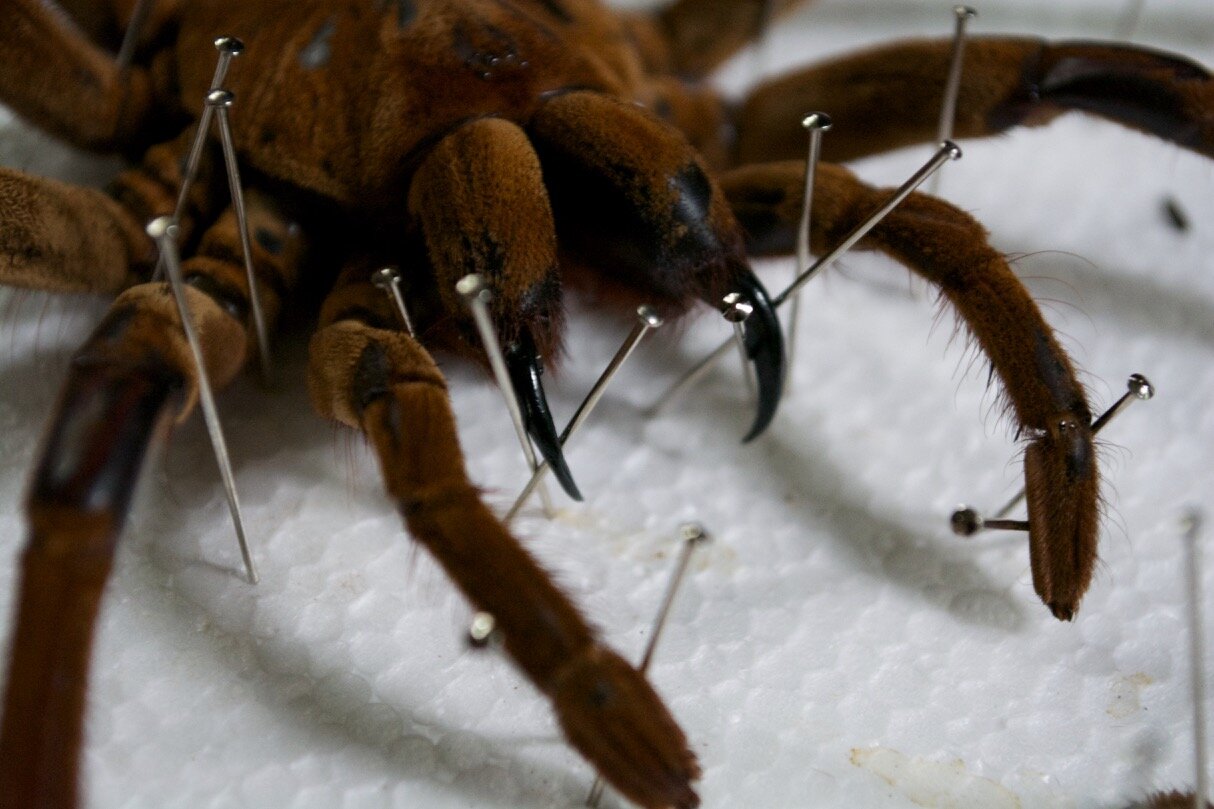
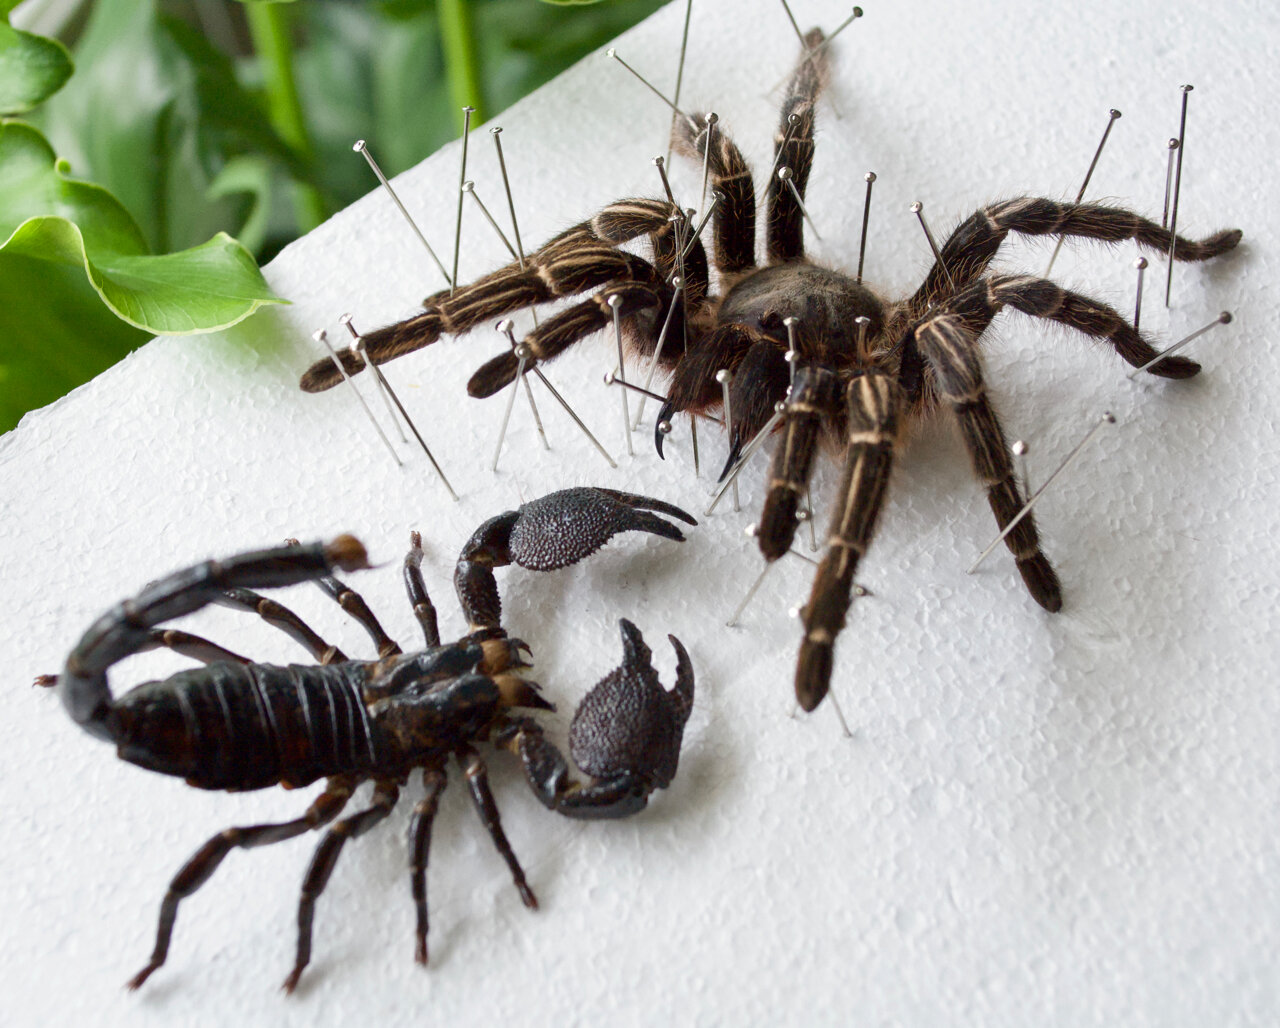
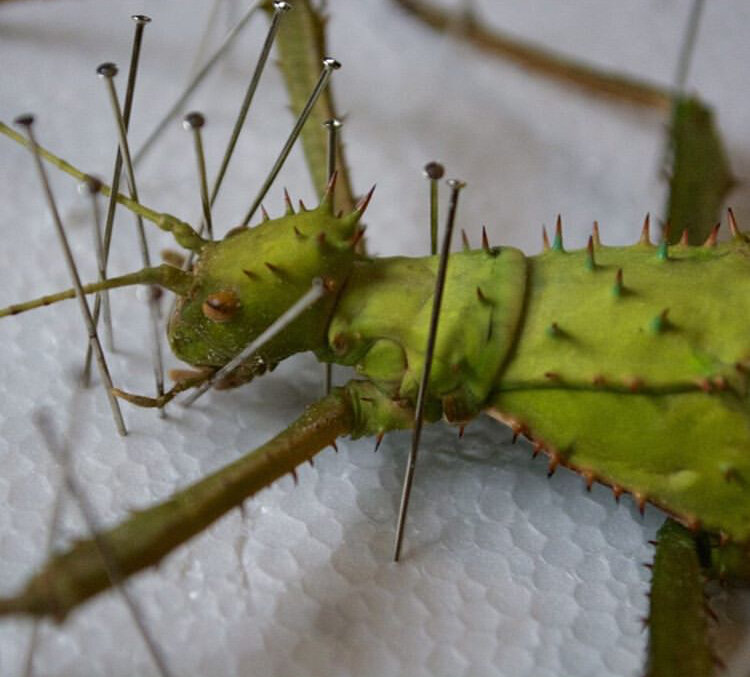
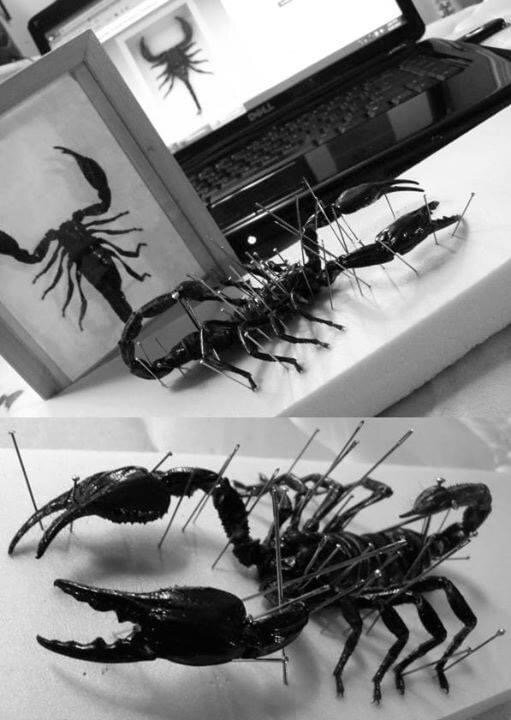
PINNING: Insects are normally positioned and preserved by pinning. Common pins are too short, too thick, and will rust; Insects should be pinned with ‘insect pins’ which can be purchased from a supply house like IndigoInstruments.com They are available in various sizes/thickness — Example: Nos. 1 (Very Slender), Nos. 2 (Less Slender), Nos. 3 (Thicker, for larger insects). Indigo Instruments offers a sample pack if you’re unsure of the size you need.
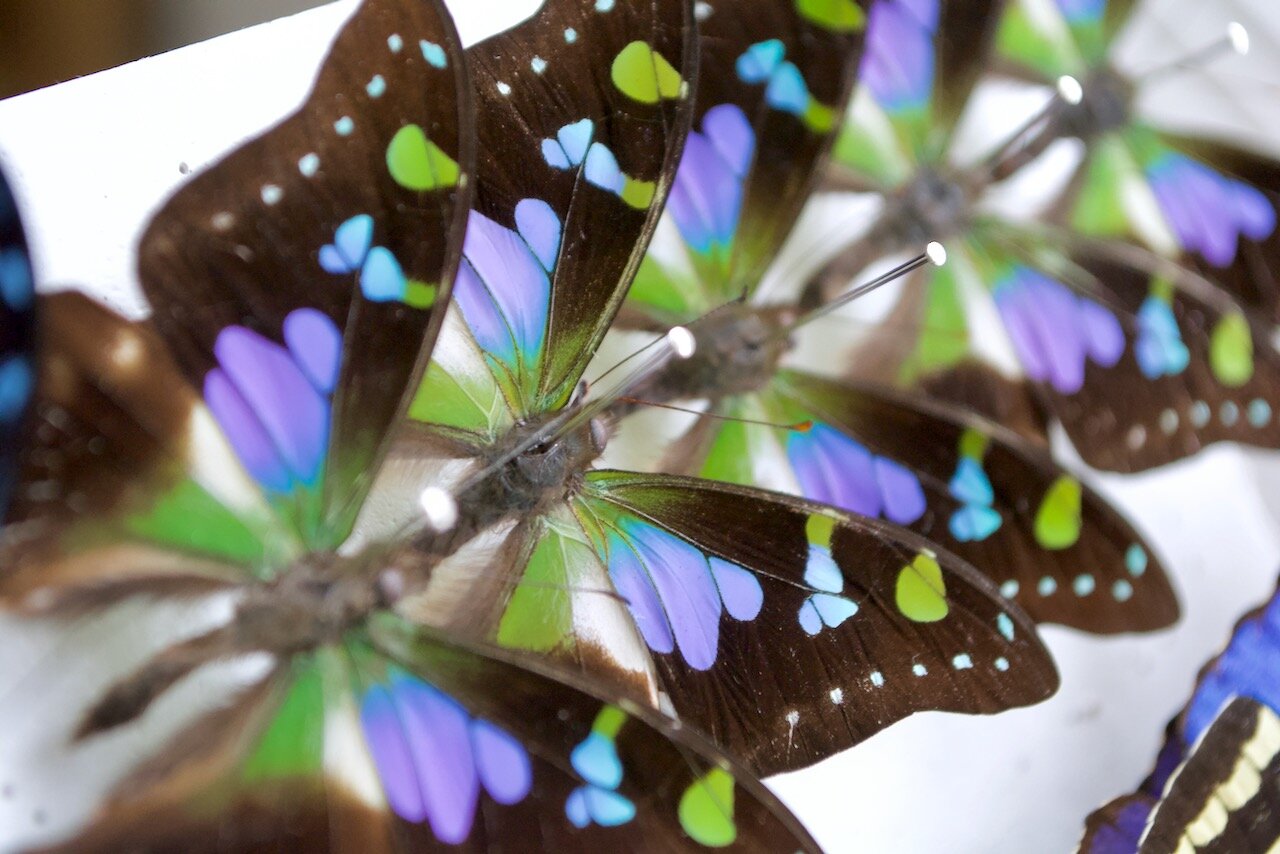
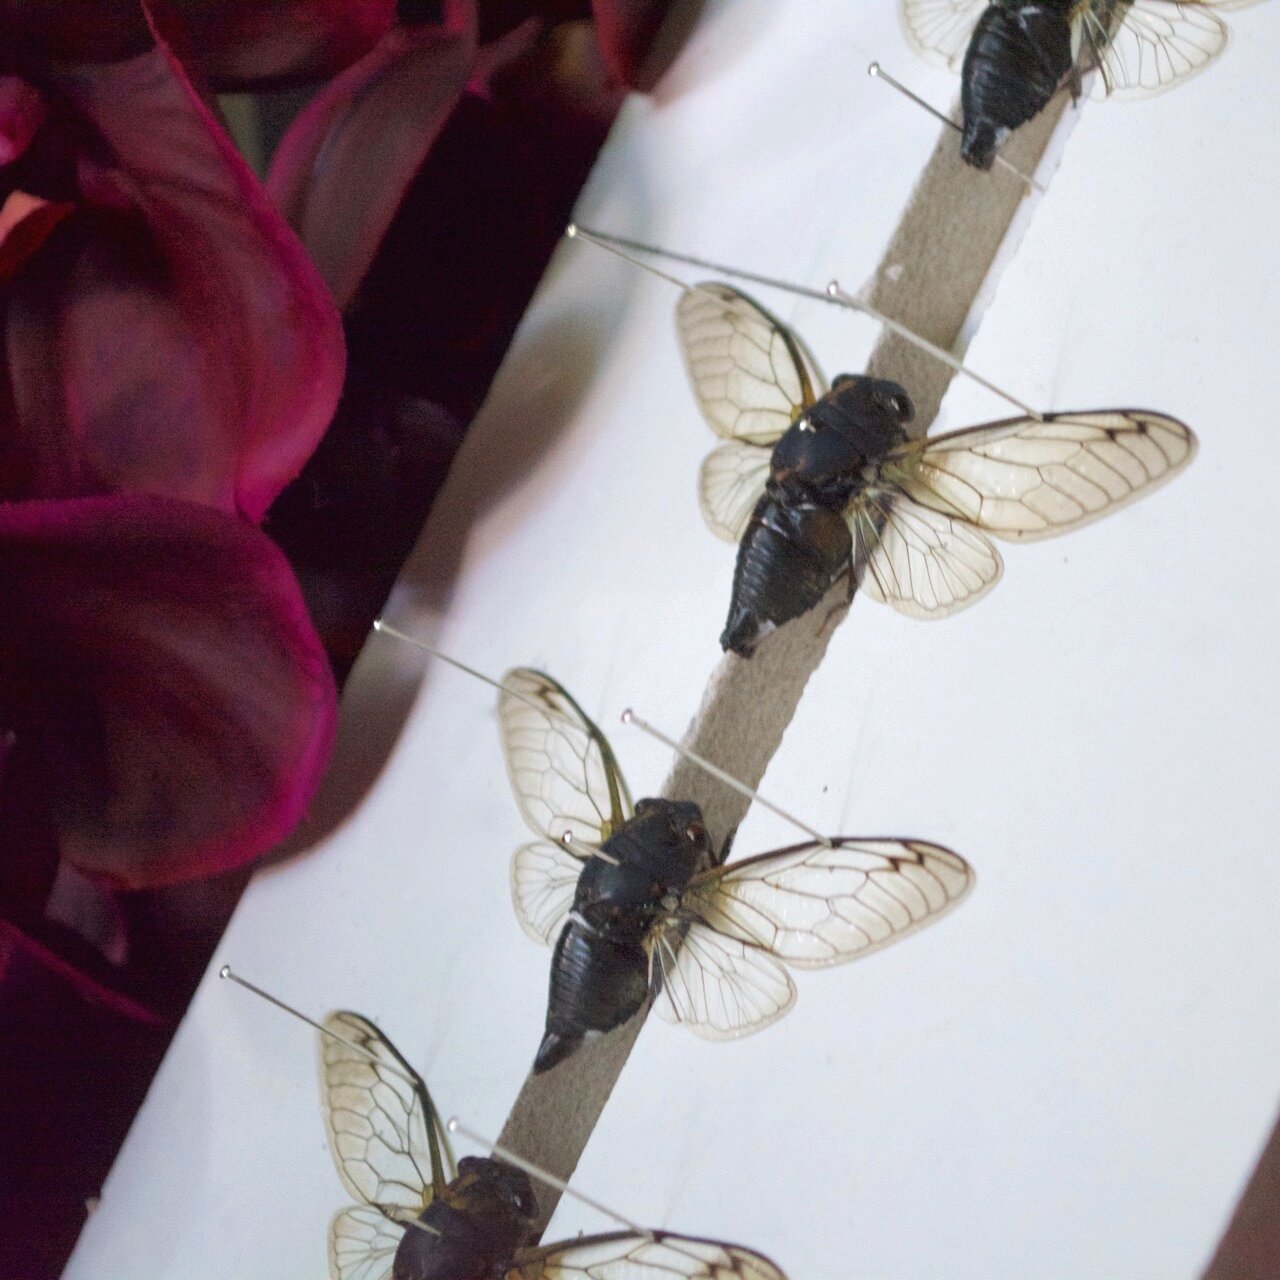
Most insects are pinned at a 90 degree angle through the thorax. Beetles, hoppers and the like are pinned through the front part of the right wing, at a point where the pin won’t damage a leg when emerging from the insects’ underside.
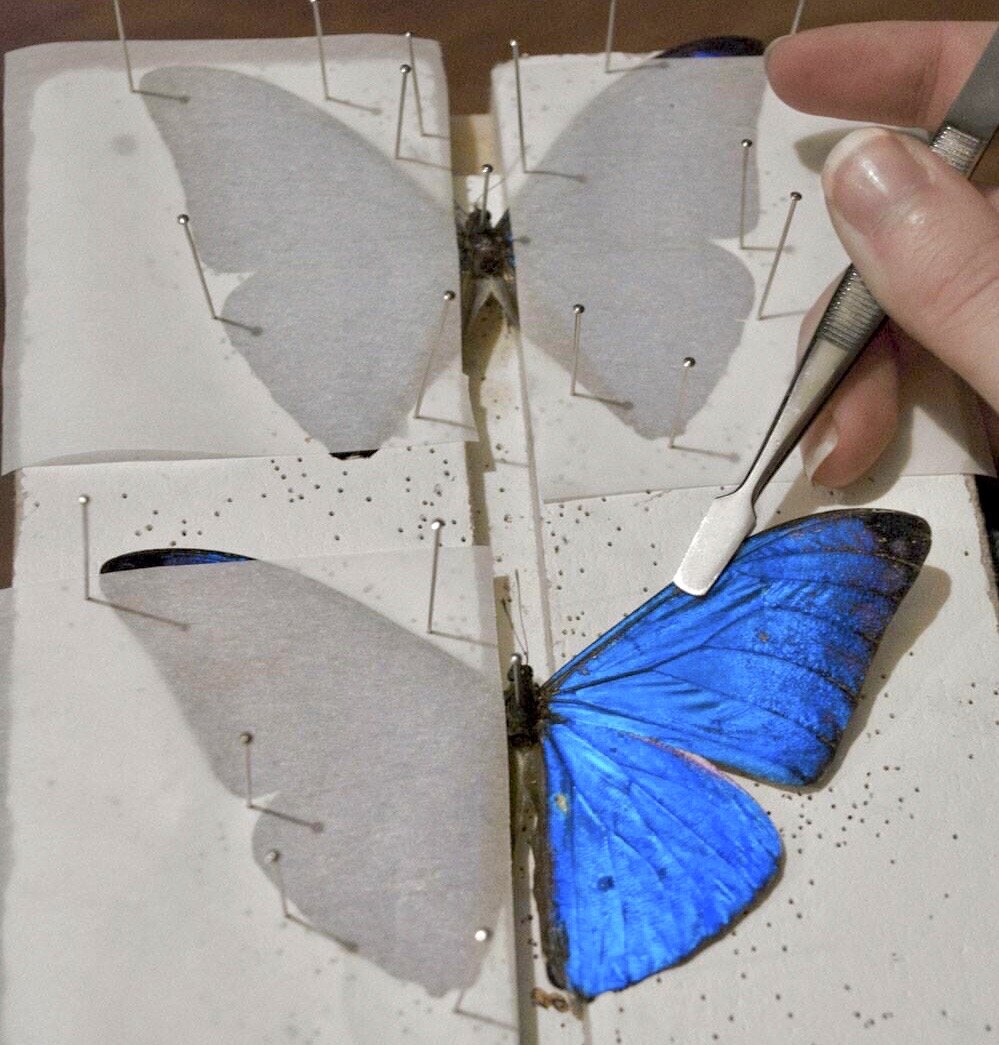
SPREADING: An insect can be spread on a ‘Spreading Board’ (which can also be purchased at an entomology supply-house or handmade using wood, styrofoam or cardboard) or spread upside down on a flat surface. The position in which you spread its wings depends on the insect and how you want them to lay. If you are using a spreading board you’ll want to pin the body into the center crevice so its wings are level with the board. Using Forceps, open the wings and hold them into place while you pin them with strips of parchment/Tracing paper, you do not want to pin through the wing! (there are many methods for spreading, like using glass or strips of card stock or parchment paper. You’ll want to pin the wings to the boards using your forceps to move the wings into the position you want as you pin them into place. Your specimen can take anywhere from 24 hours to a week to completely dry. If I’m working with larger, hard bodied insects I will place them under a heating lamp to help the drying process.
PINNING AND SPREADING TUTORIALS:
Butterfly – Card stock Method: https://youtu.be/0YrAHR3Ipqc
Butterfly – Tracing Paper Method : https://youtu.be/7DWwBL8MU8w
Beetle: https://youtu.be/DJcJ6IkaoHY
Beetle Wings: https://youtu.be/klFRSN3uyNc
Hopper: https://youtu.be/EDQcl6Zo2j8
Cicada: https://youtu.be/V_Iel1ZeLZs
Mounting & Protection: Insect collections are subject to attack by dermestid beetles and other pests; They will destroy your collection (basically turning it to dust) if not properly protected. You can temporarily store your specimens in ‘insect storage boxes’ or ‘riker mounts’ with a moth ball inside— you should examine your collection periodically for signs of damage. Should you detect any pests, your collection should be fumigated or heat-treated. When mounting your specimens be sure they are pest-free. You will want to display the specimen in an air tight display like a glass cloche or shadow box, be sure your display is completely sealed with glue, tape or however you may see fit to ensure that no pests may find their way inside.
DISPLAY CARE: Avoid direct sunlight, heavy humidity and extreme heat. Lightly dust your new display with a feather duster and clean with a glass cleaner by spraying a paper towel then wipe clean; do not directly spray the glass.
TheButterflyBabe.com
Instagram.com/ButterflyBabeGallery
Facebook.com/ButterflyBabeGallery
Copyright © Sarah Folts | Butterfly Babe 2022. All rights reserved.